

Replacing your own water filters
Replacing water filters on your own is a simple, cost-effective task that can be done regularly to maintain your water filtration system. Just be sure to follow the manufacturer's instructions and replace the filters on time to keep your water clean and safe. If you're unsure about the specific process for your system or need help with choosing the right filters, feel free to ask!
1. Check the Filter Type and Manufacturer Instructions
Before replacing any filter, it's important to know the type of filter you have and the manufacturer's recommendations. Filters vary based on the system, and each type (e.g., activated carbon, sediment filter cartridge) will have different instructions. You can usually find this information in your system’s user manual, or sometimes on the manufacturer's website.
2. Determine When to Replace Your Filters
Filters have a lifespan, typically measured in months or gallons of water filtered. Depending on the type of filter, you may need to replace it:
Activated Carbon Filters: Typically every 6 to 12 months.
Sediment Filters: Every 6 to 12 months
3. Gather the Tools You’ll Need
Replacing most filters doesn't require many tools. Generally, you will need:
- Replacement filters (make sure they match your system and specifications).
- A bucket or towel to catch any water spillage during the process.
- A filter key
- Gloves (optional, for cleanliness and protection).
4. Turn Off the Water Supply
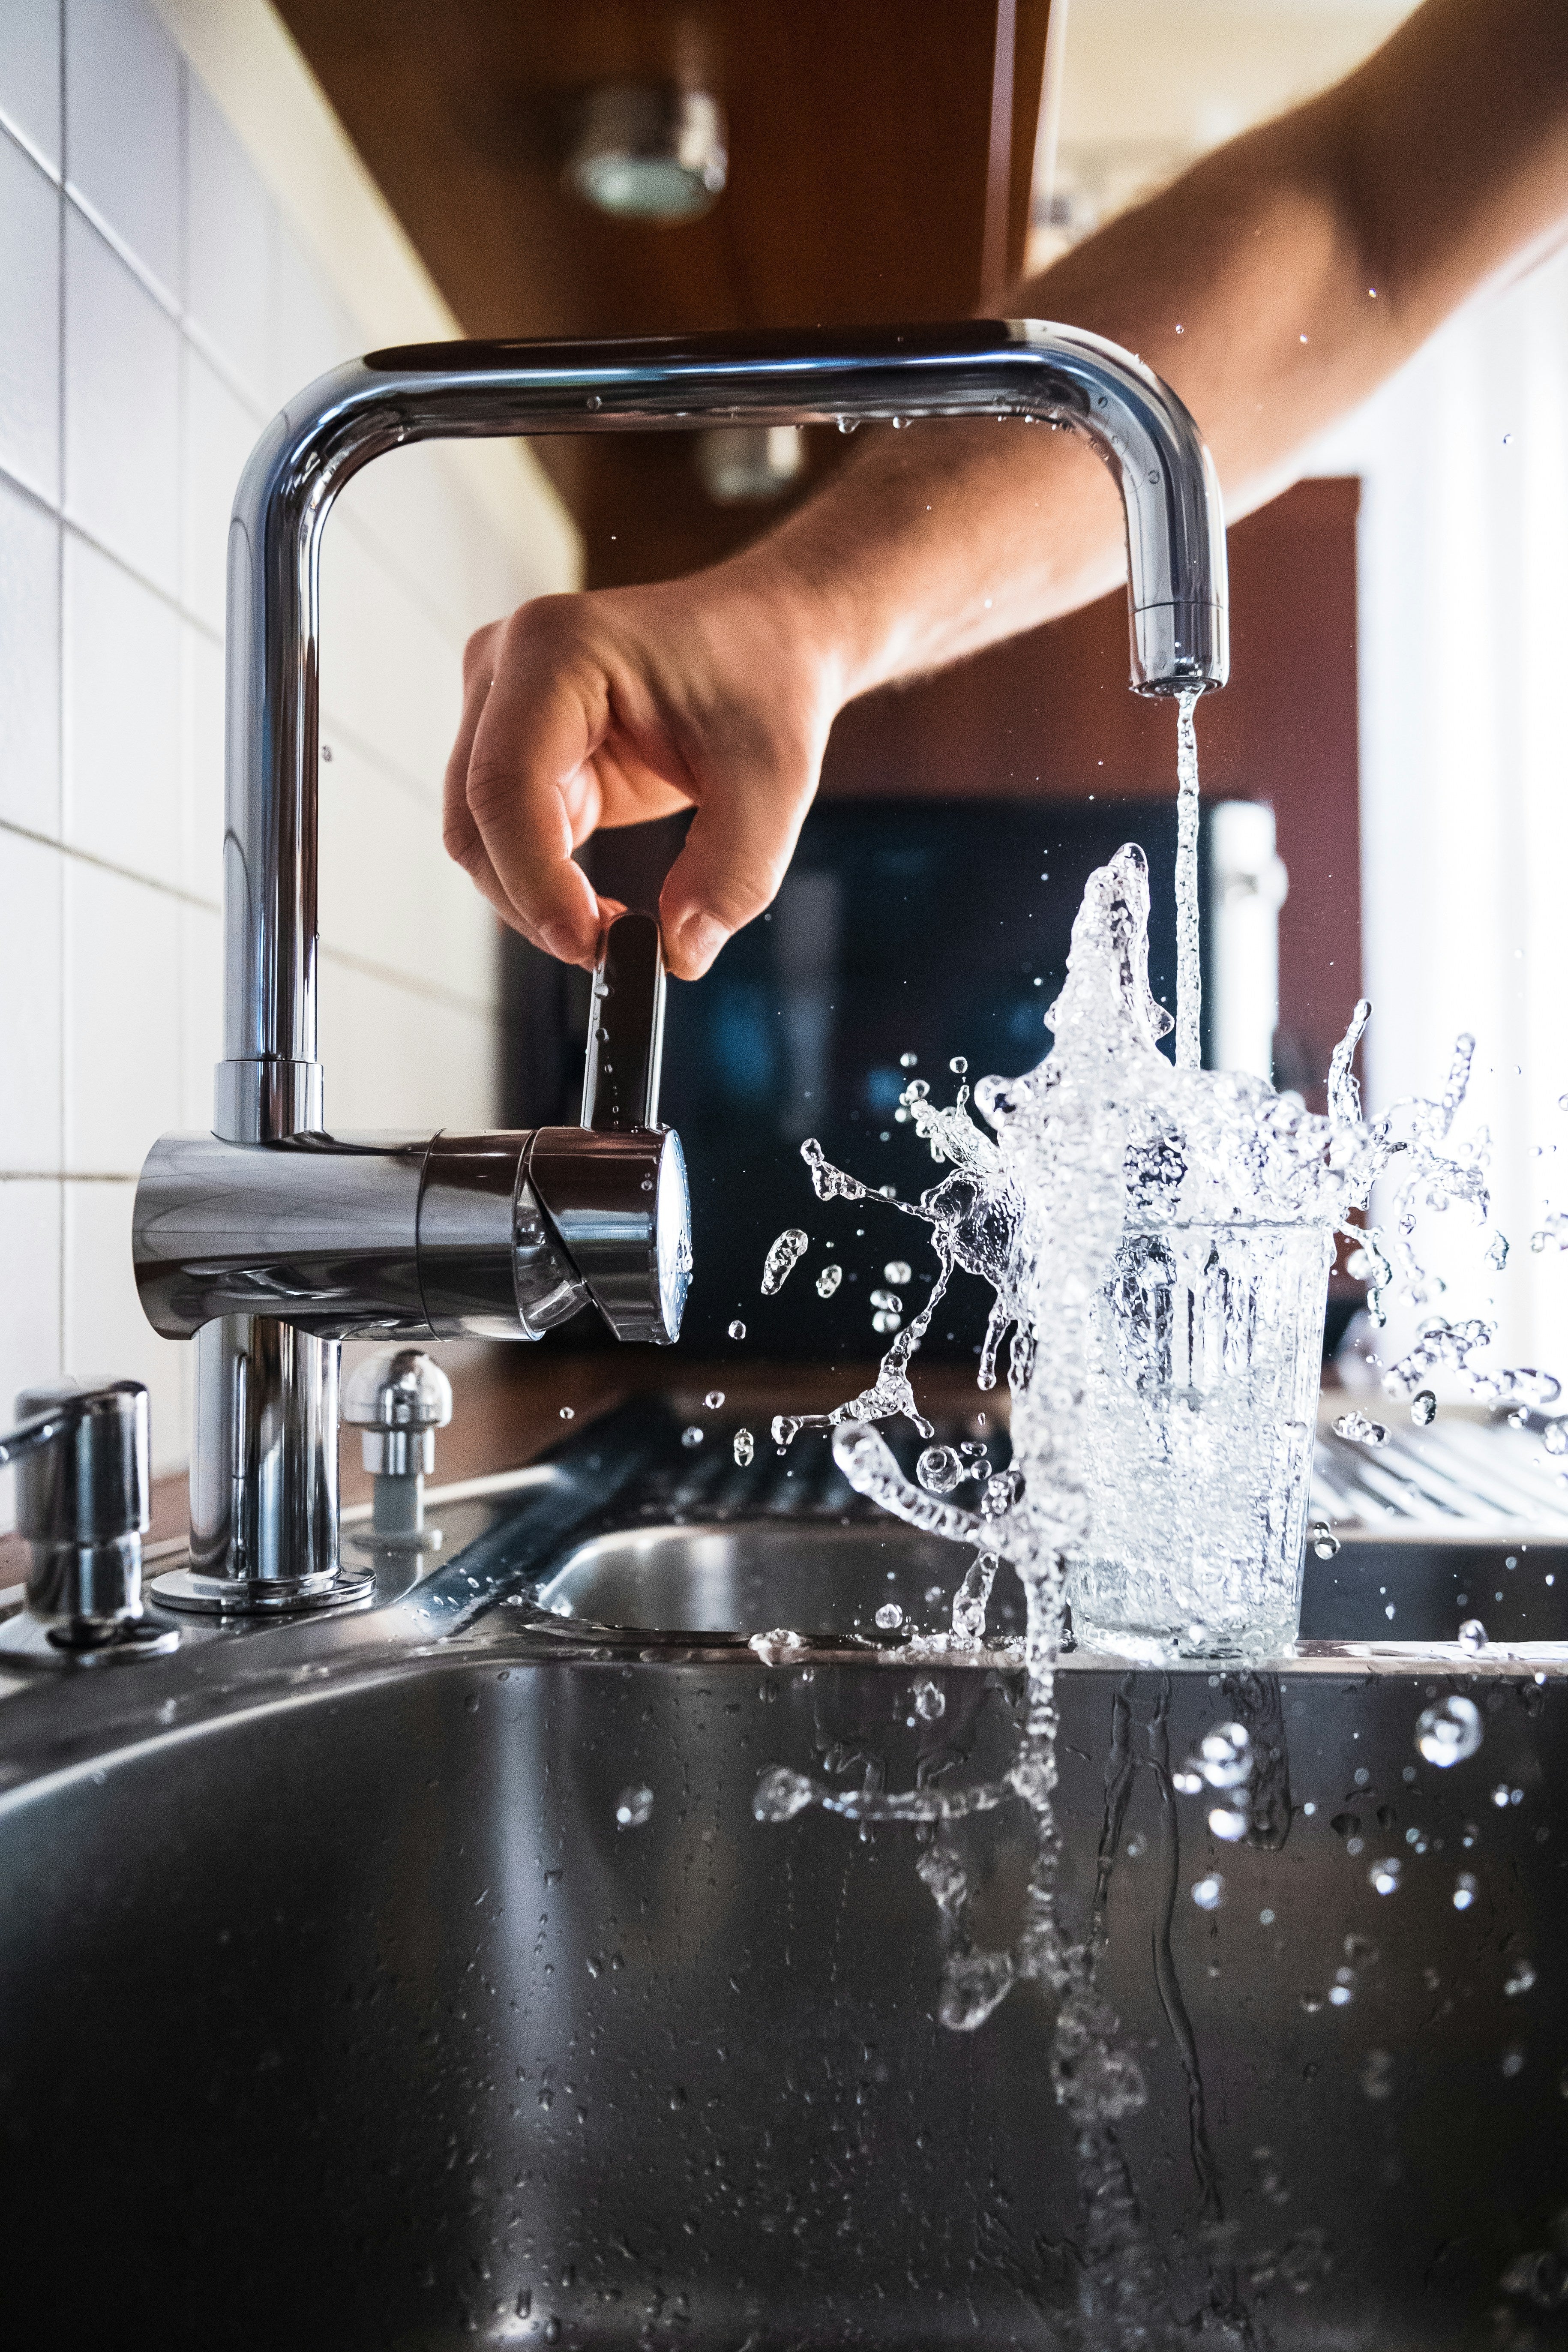
Before replacing your filter, you should turn off the water supply to avoid leaks or flooding while you’re changing the filter then turn on a tap to reduce water pressure. If you have a whole-house filtration system, it’s best to shut off the water at the main valve or the specific filtration unit. Then on the filter housing, push the pressure release button and this allows easy unlocking of the filter housing.
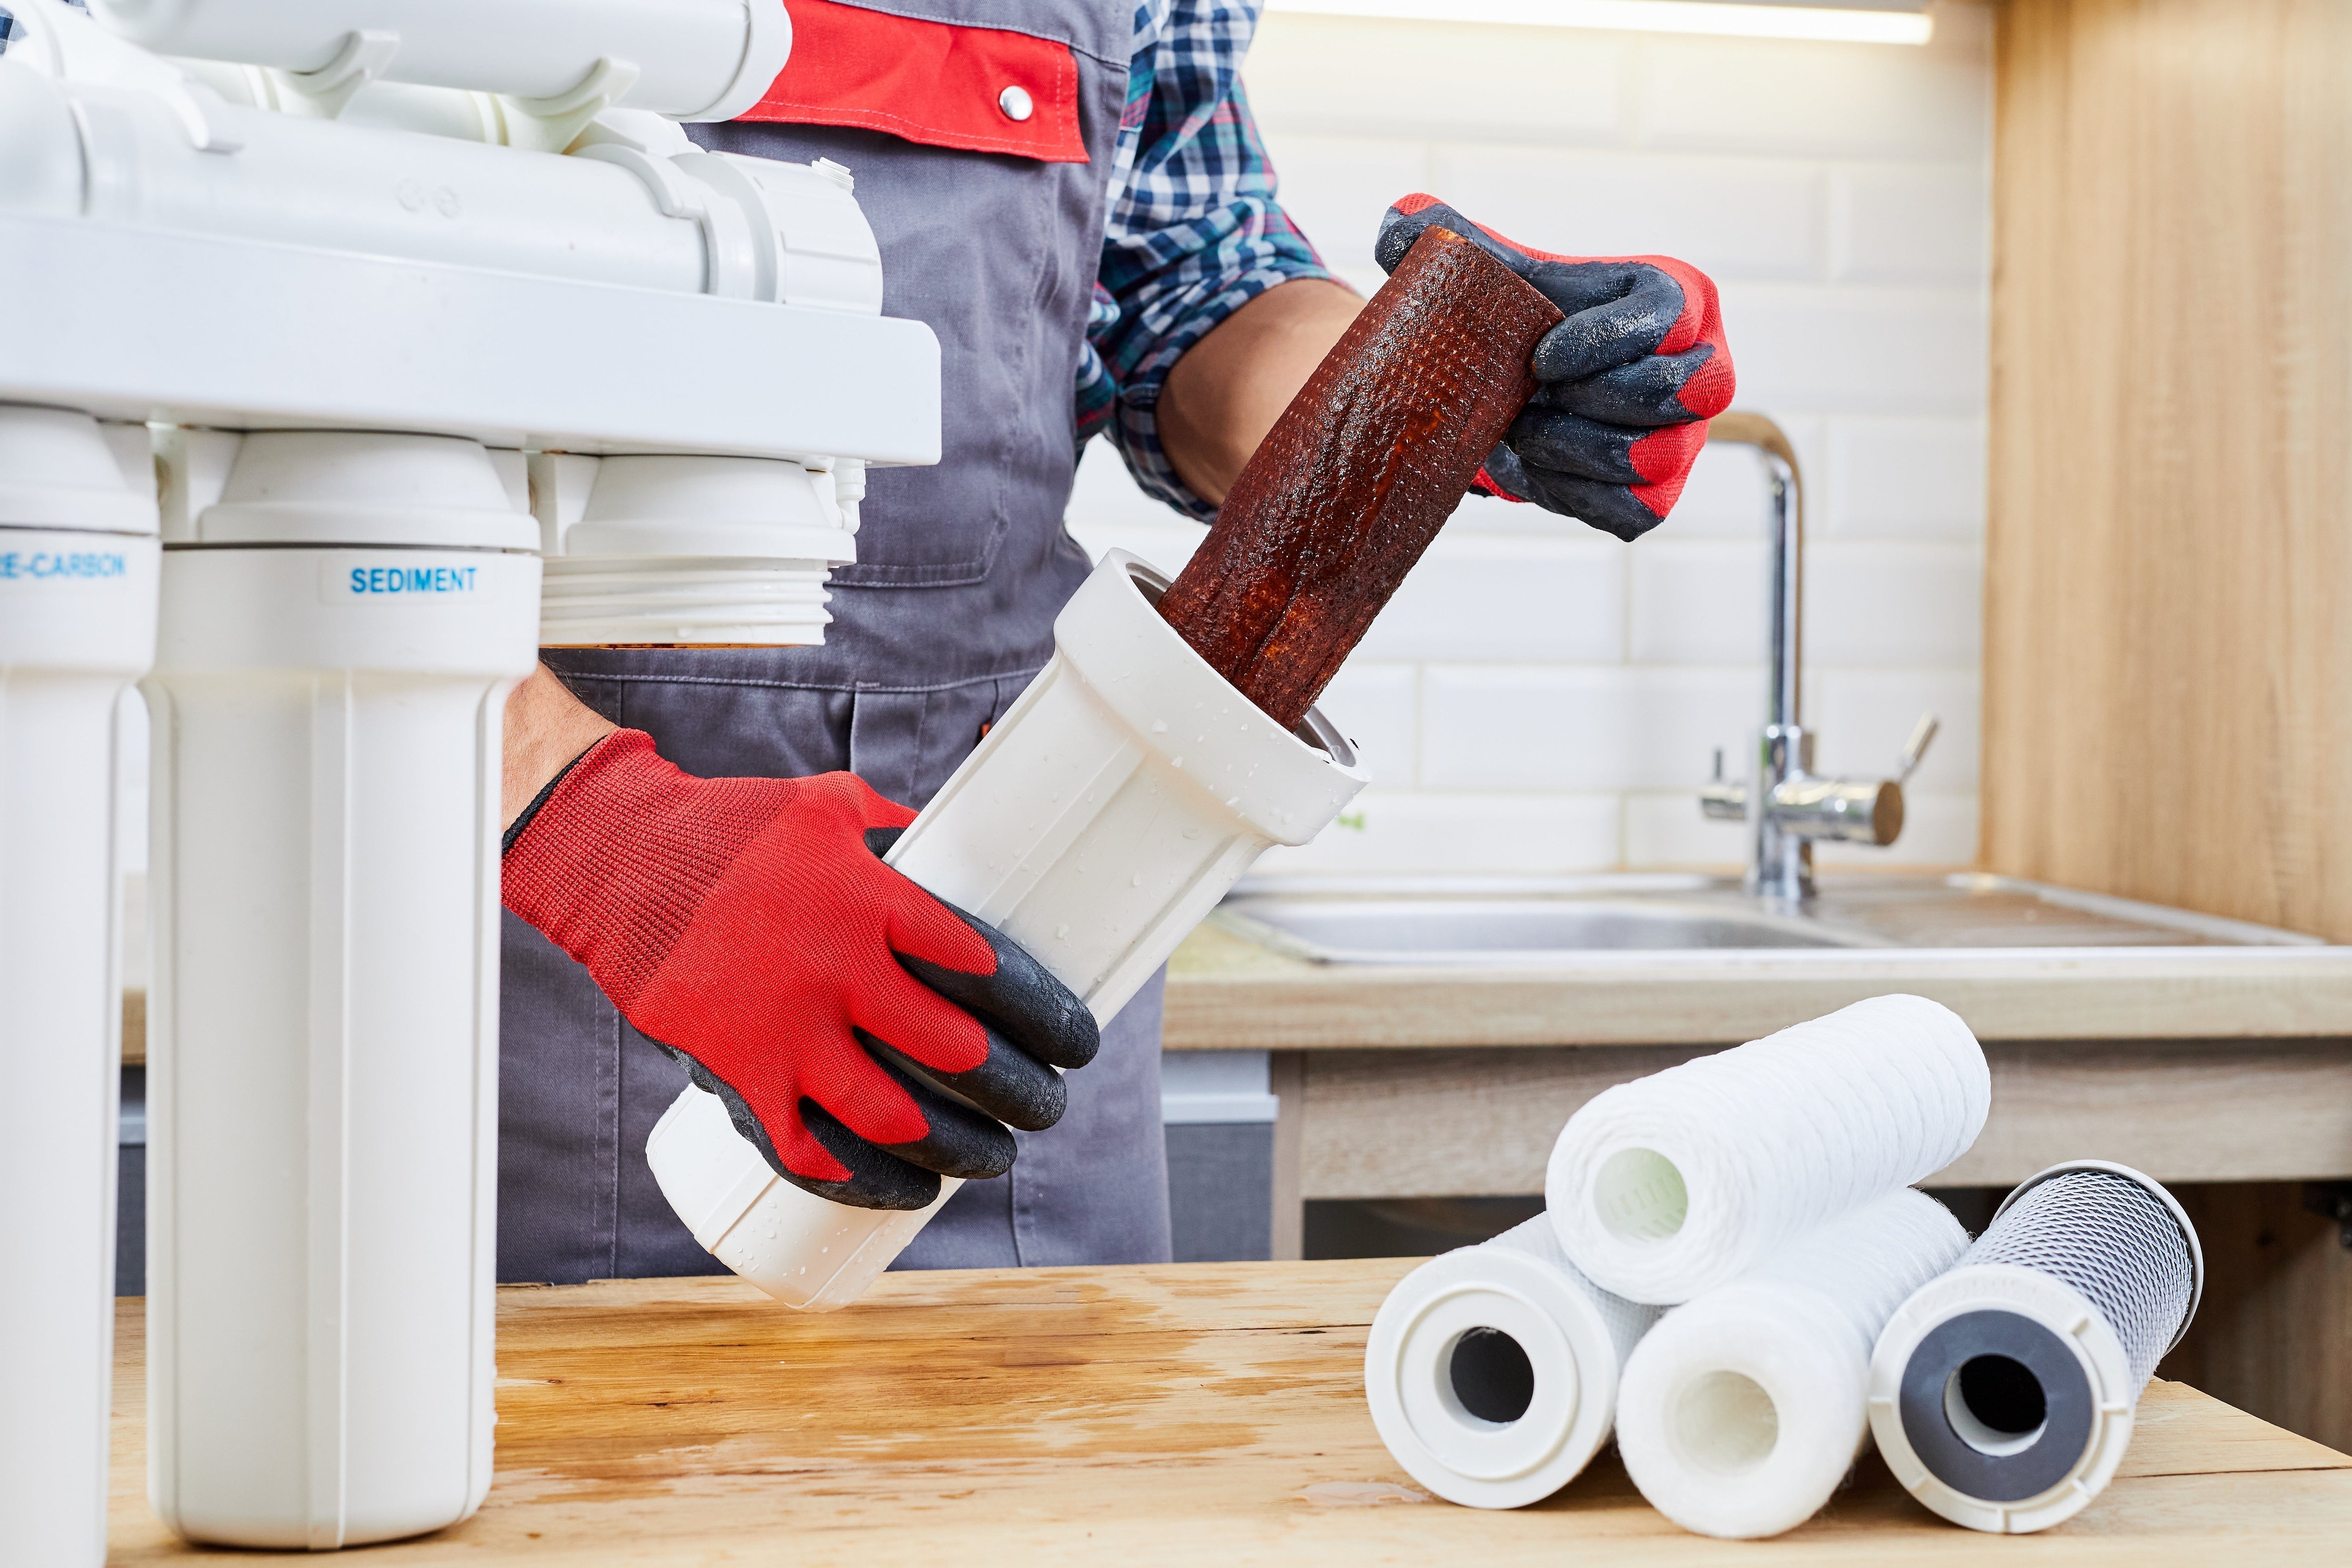
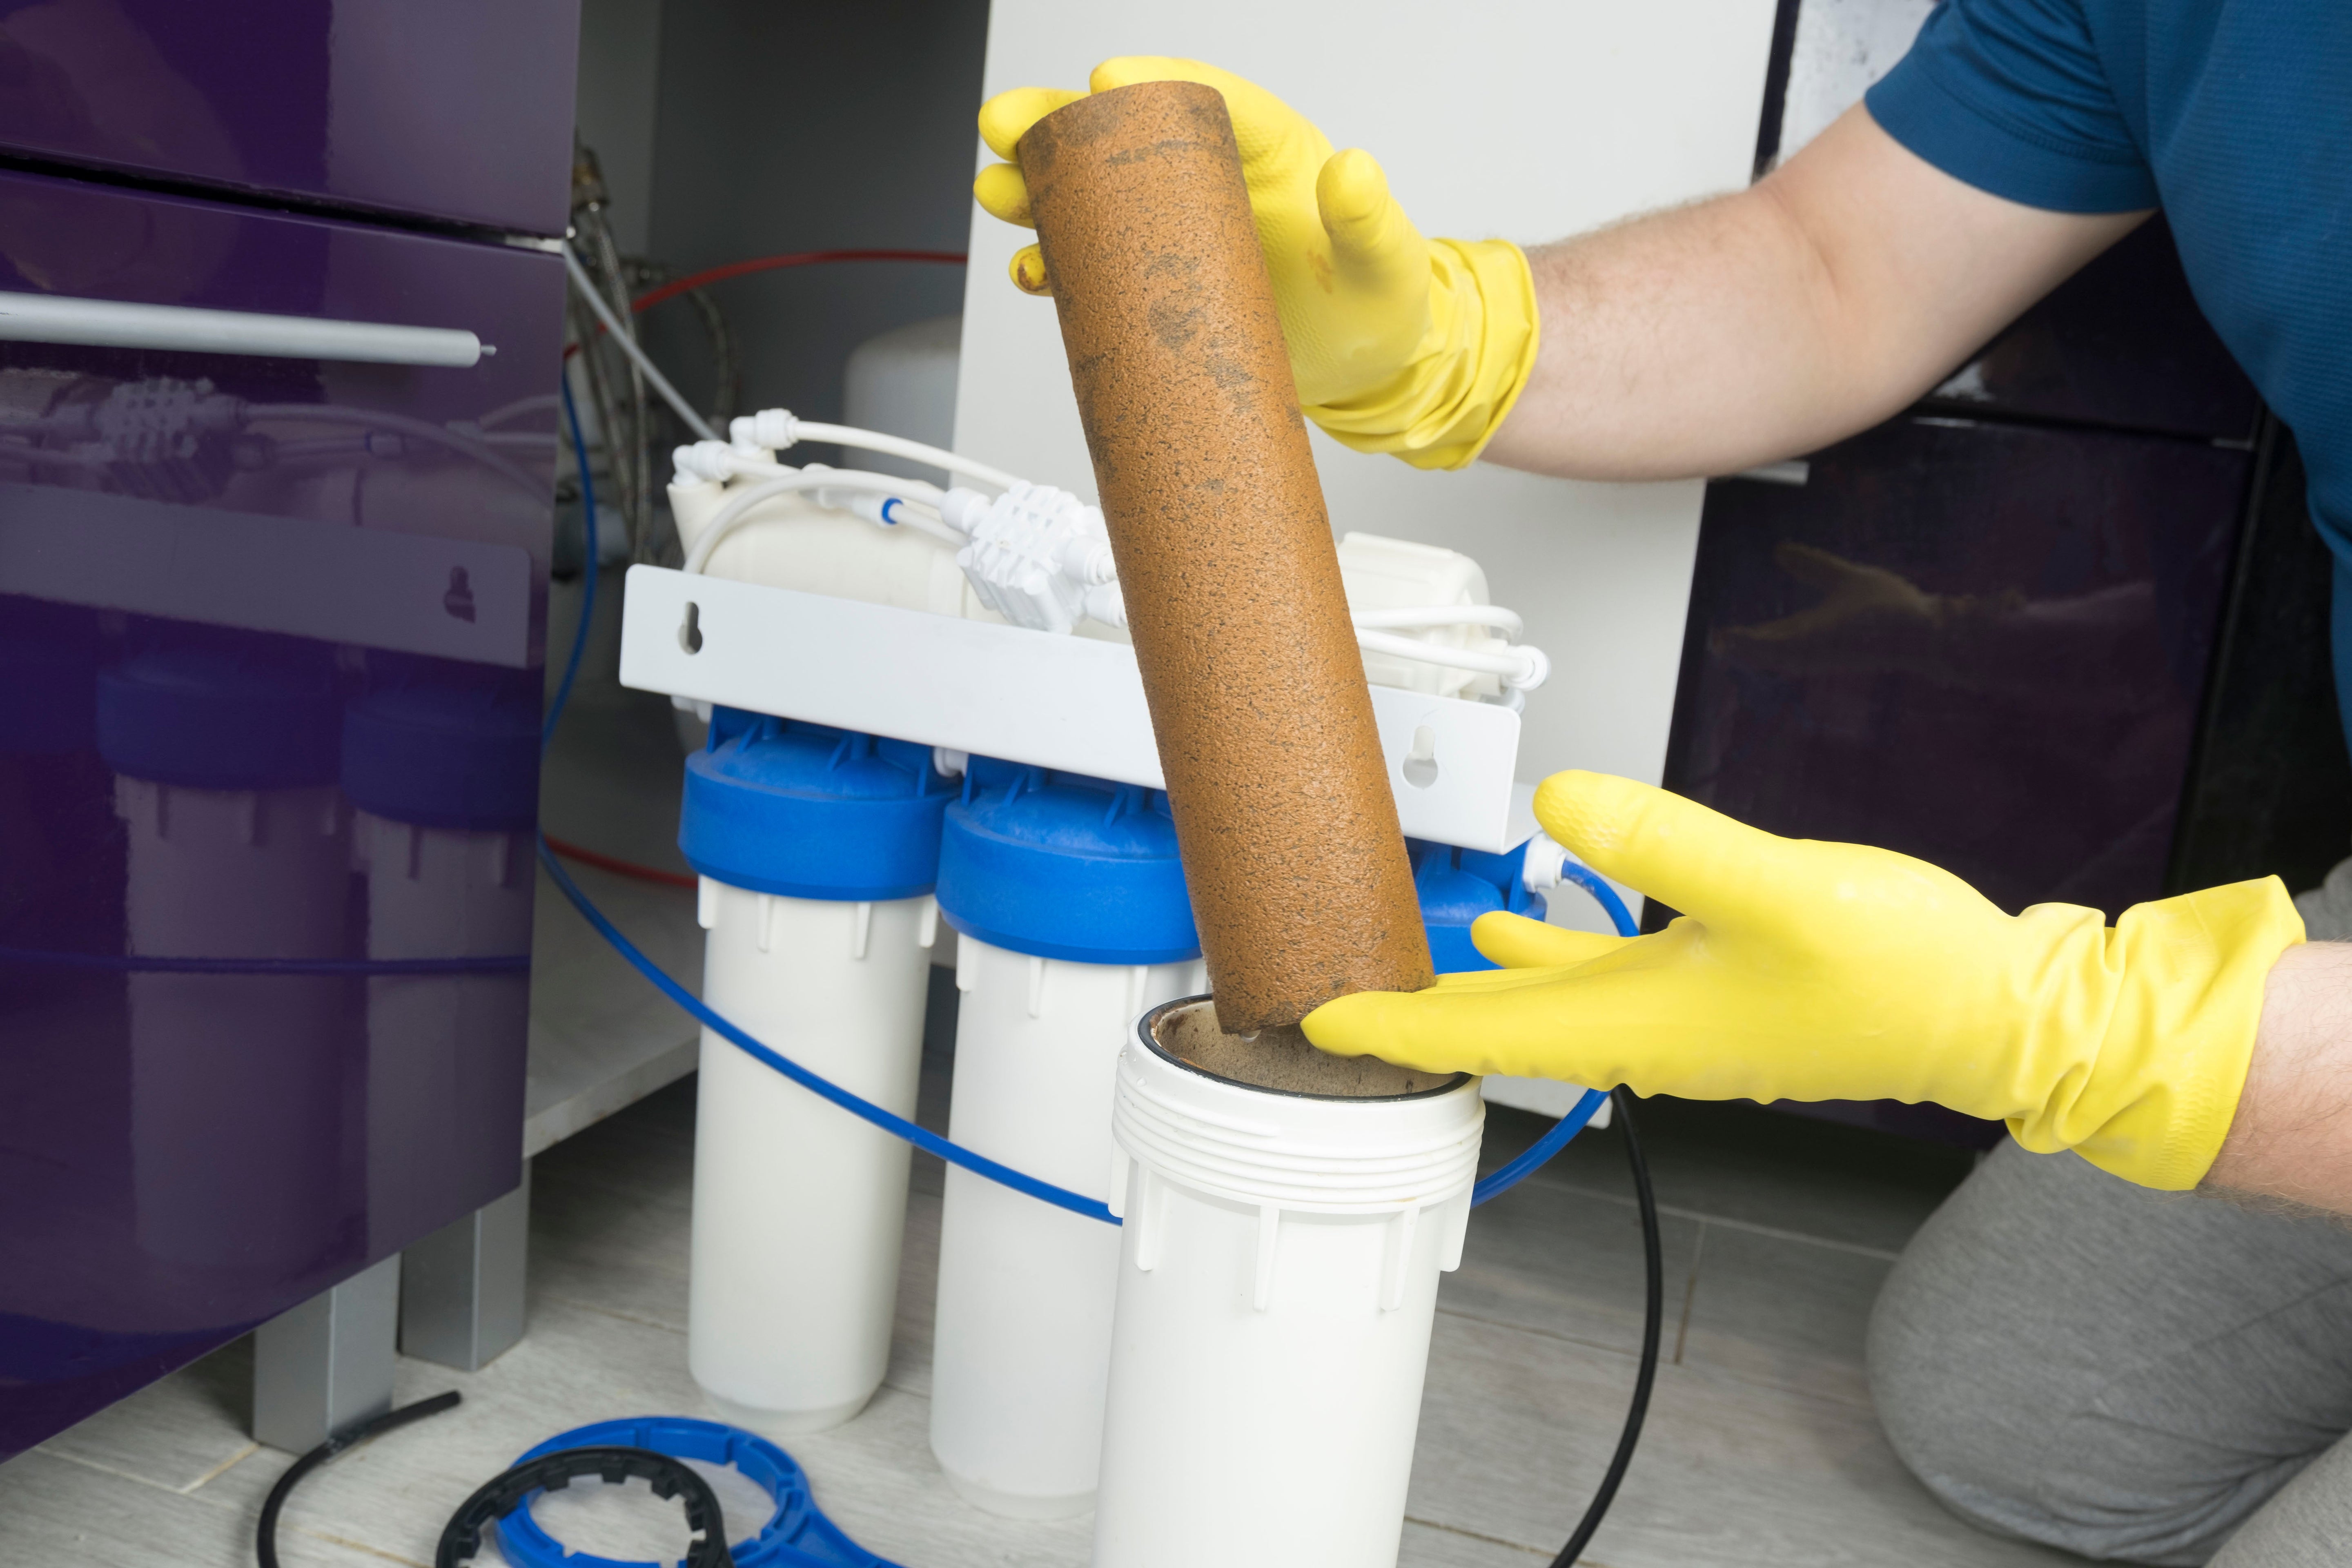
5. Remove the Old Filter
Most filters will either screw off or slide out of place. Here’s how to do it:
For cartridge filters: Turn the filter counterclockwise (left) to unscrew it from the housing
For sediment or carbon filters: These are typically housed in a canister, so you may need to unscrew or twist off the top of the housing to access the filter inside.
Expect a little water spillage when you remove the old filter, so have your bucket or towel ready.
6. Clean the Filter Housing (Optional)
If you notice any buildup, dirt, or gunk inside the housing where the filter sits, it’s a good idea to clean it. Use a damp cloth or a non-abrasive sponge to wipe down the interior of the housing. Avoid harsh chemicals; warm water and mild dish soap are usually sufficient. Check the rubber seals are not cracked or damaged. These will need to be replaced if they are damaged. Apply plumbers potable grease to the rubber seals (even on the old seals) and this will ensure improved water seal. Do not use petroleum-based lube as it will damage the seals. For example, do not use Vaseline. This is a common lubricant that people assume they can use.
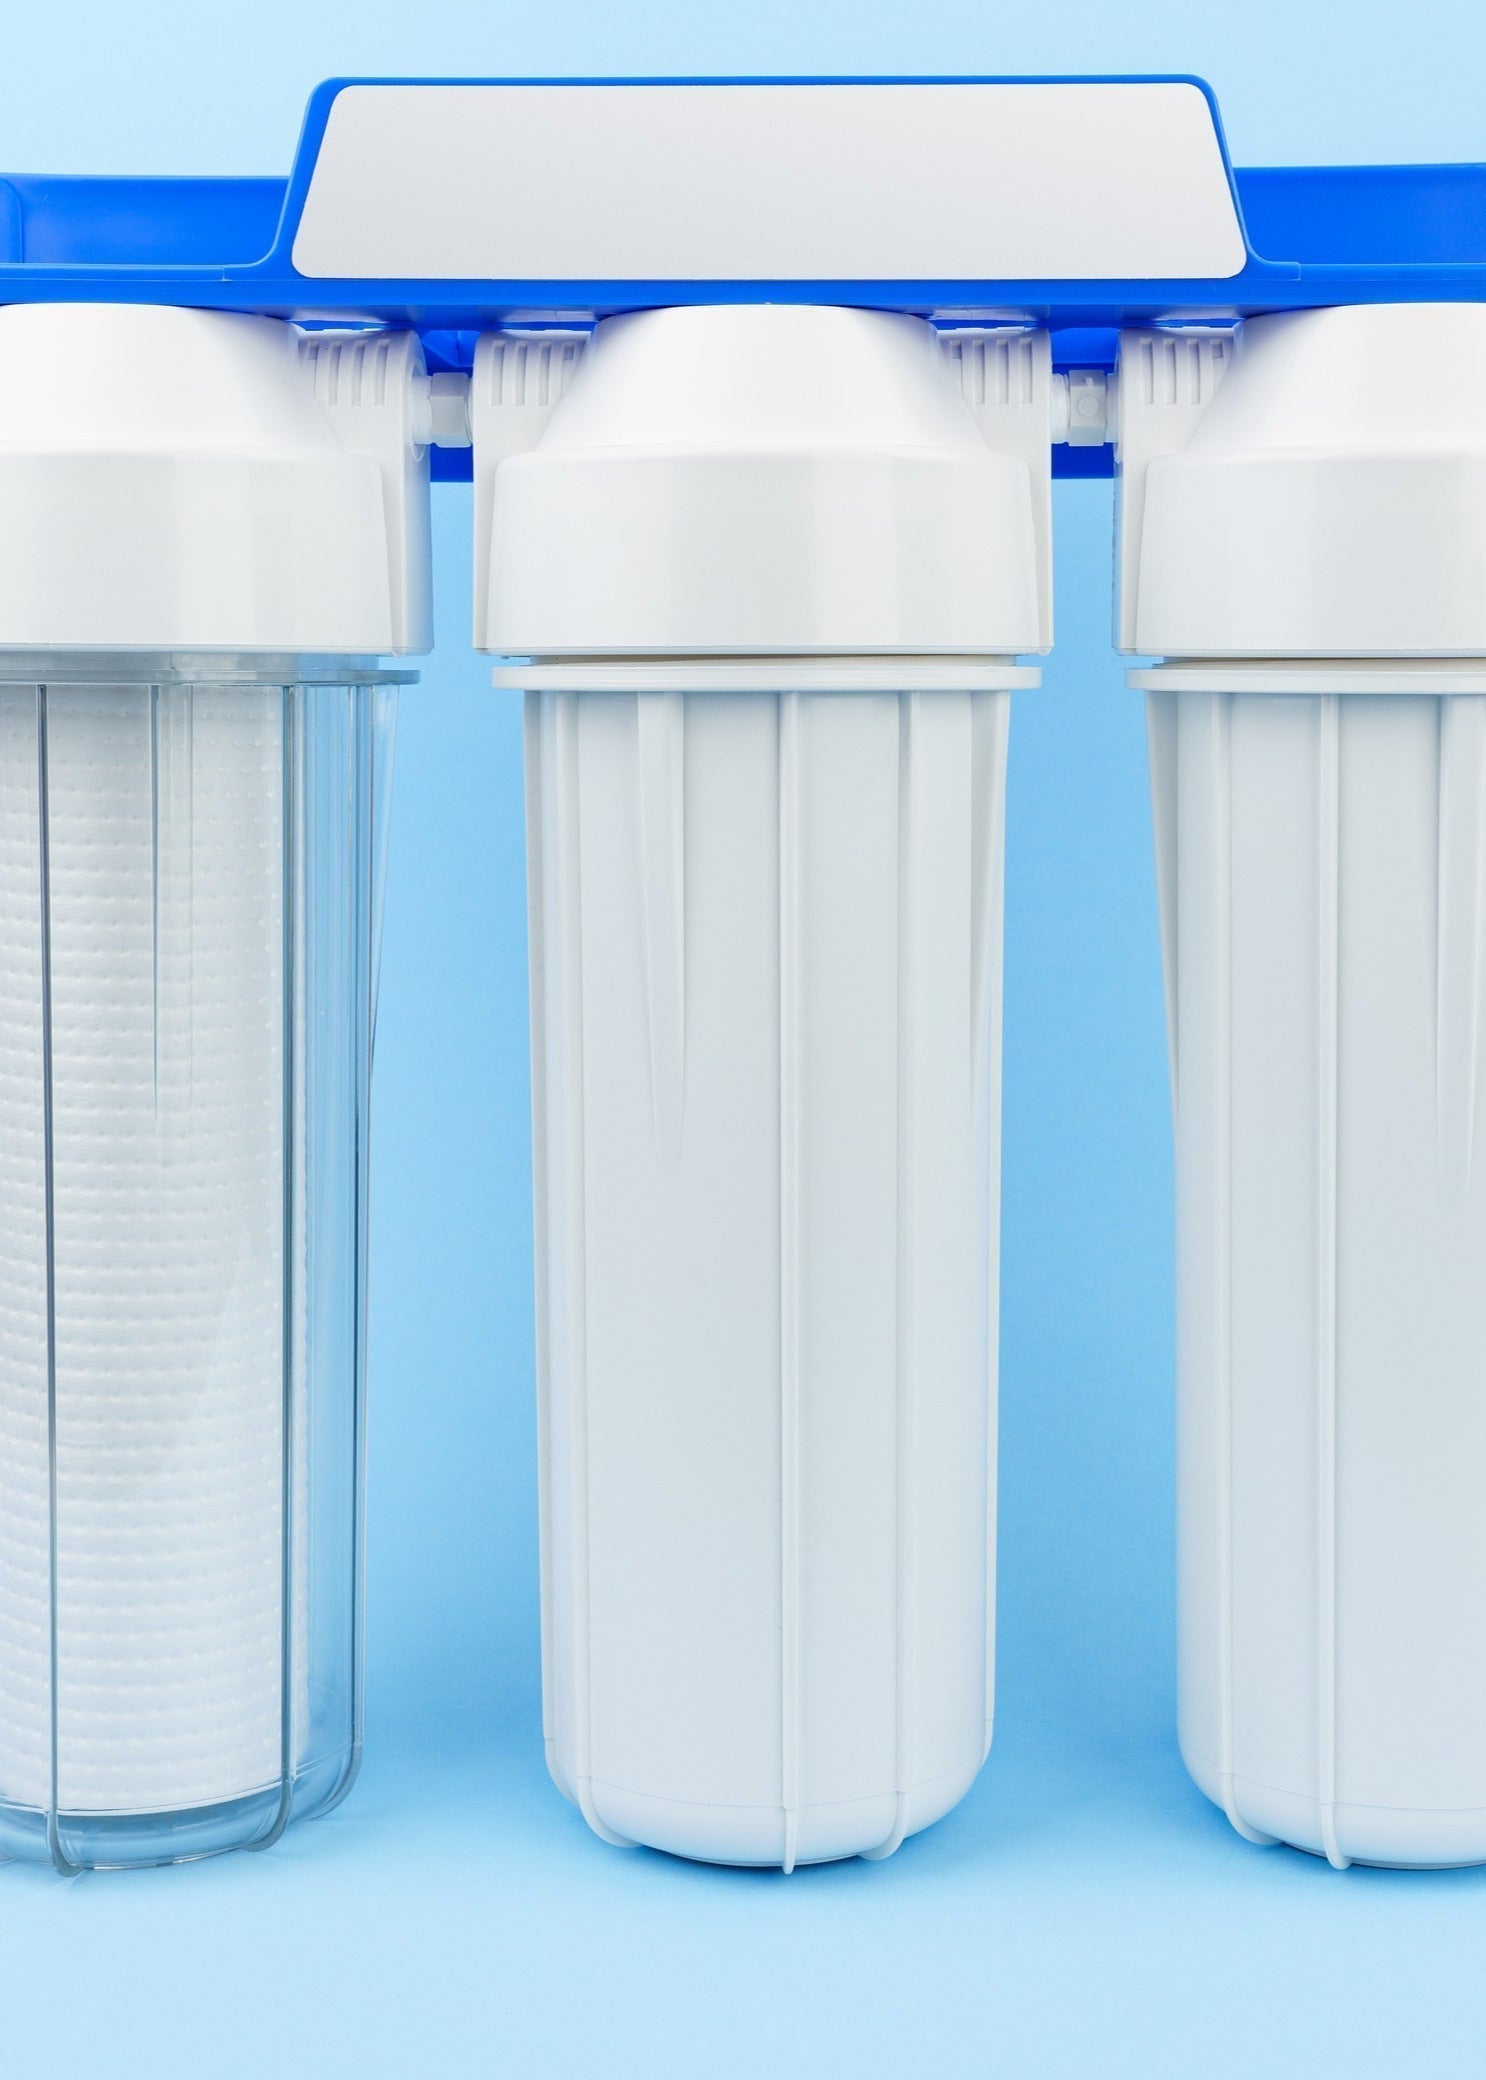
7. Install the New Filter
For Cartridge Filters: Place the new filter into the housing or compartment and screw it in place, making sure it’s seated correctly.
For Underbench Filter Systems: Slide or twist the new filter into place and reattach the housing or tubing as needed. Make sure you’re installing the filter in the right direction (most filters have arrows indicating the direction of water flow).
8. Check for Leaks
Once you’ve replaced the filter, turn the water supply back on and slowly check for any leaks around the filter housing. If you notice any water dripping, tighten the filter or check for proper placement.
9. Flush the New Filter
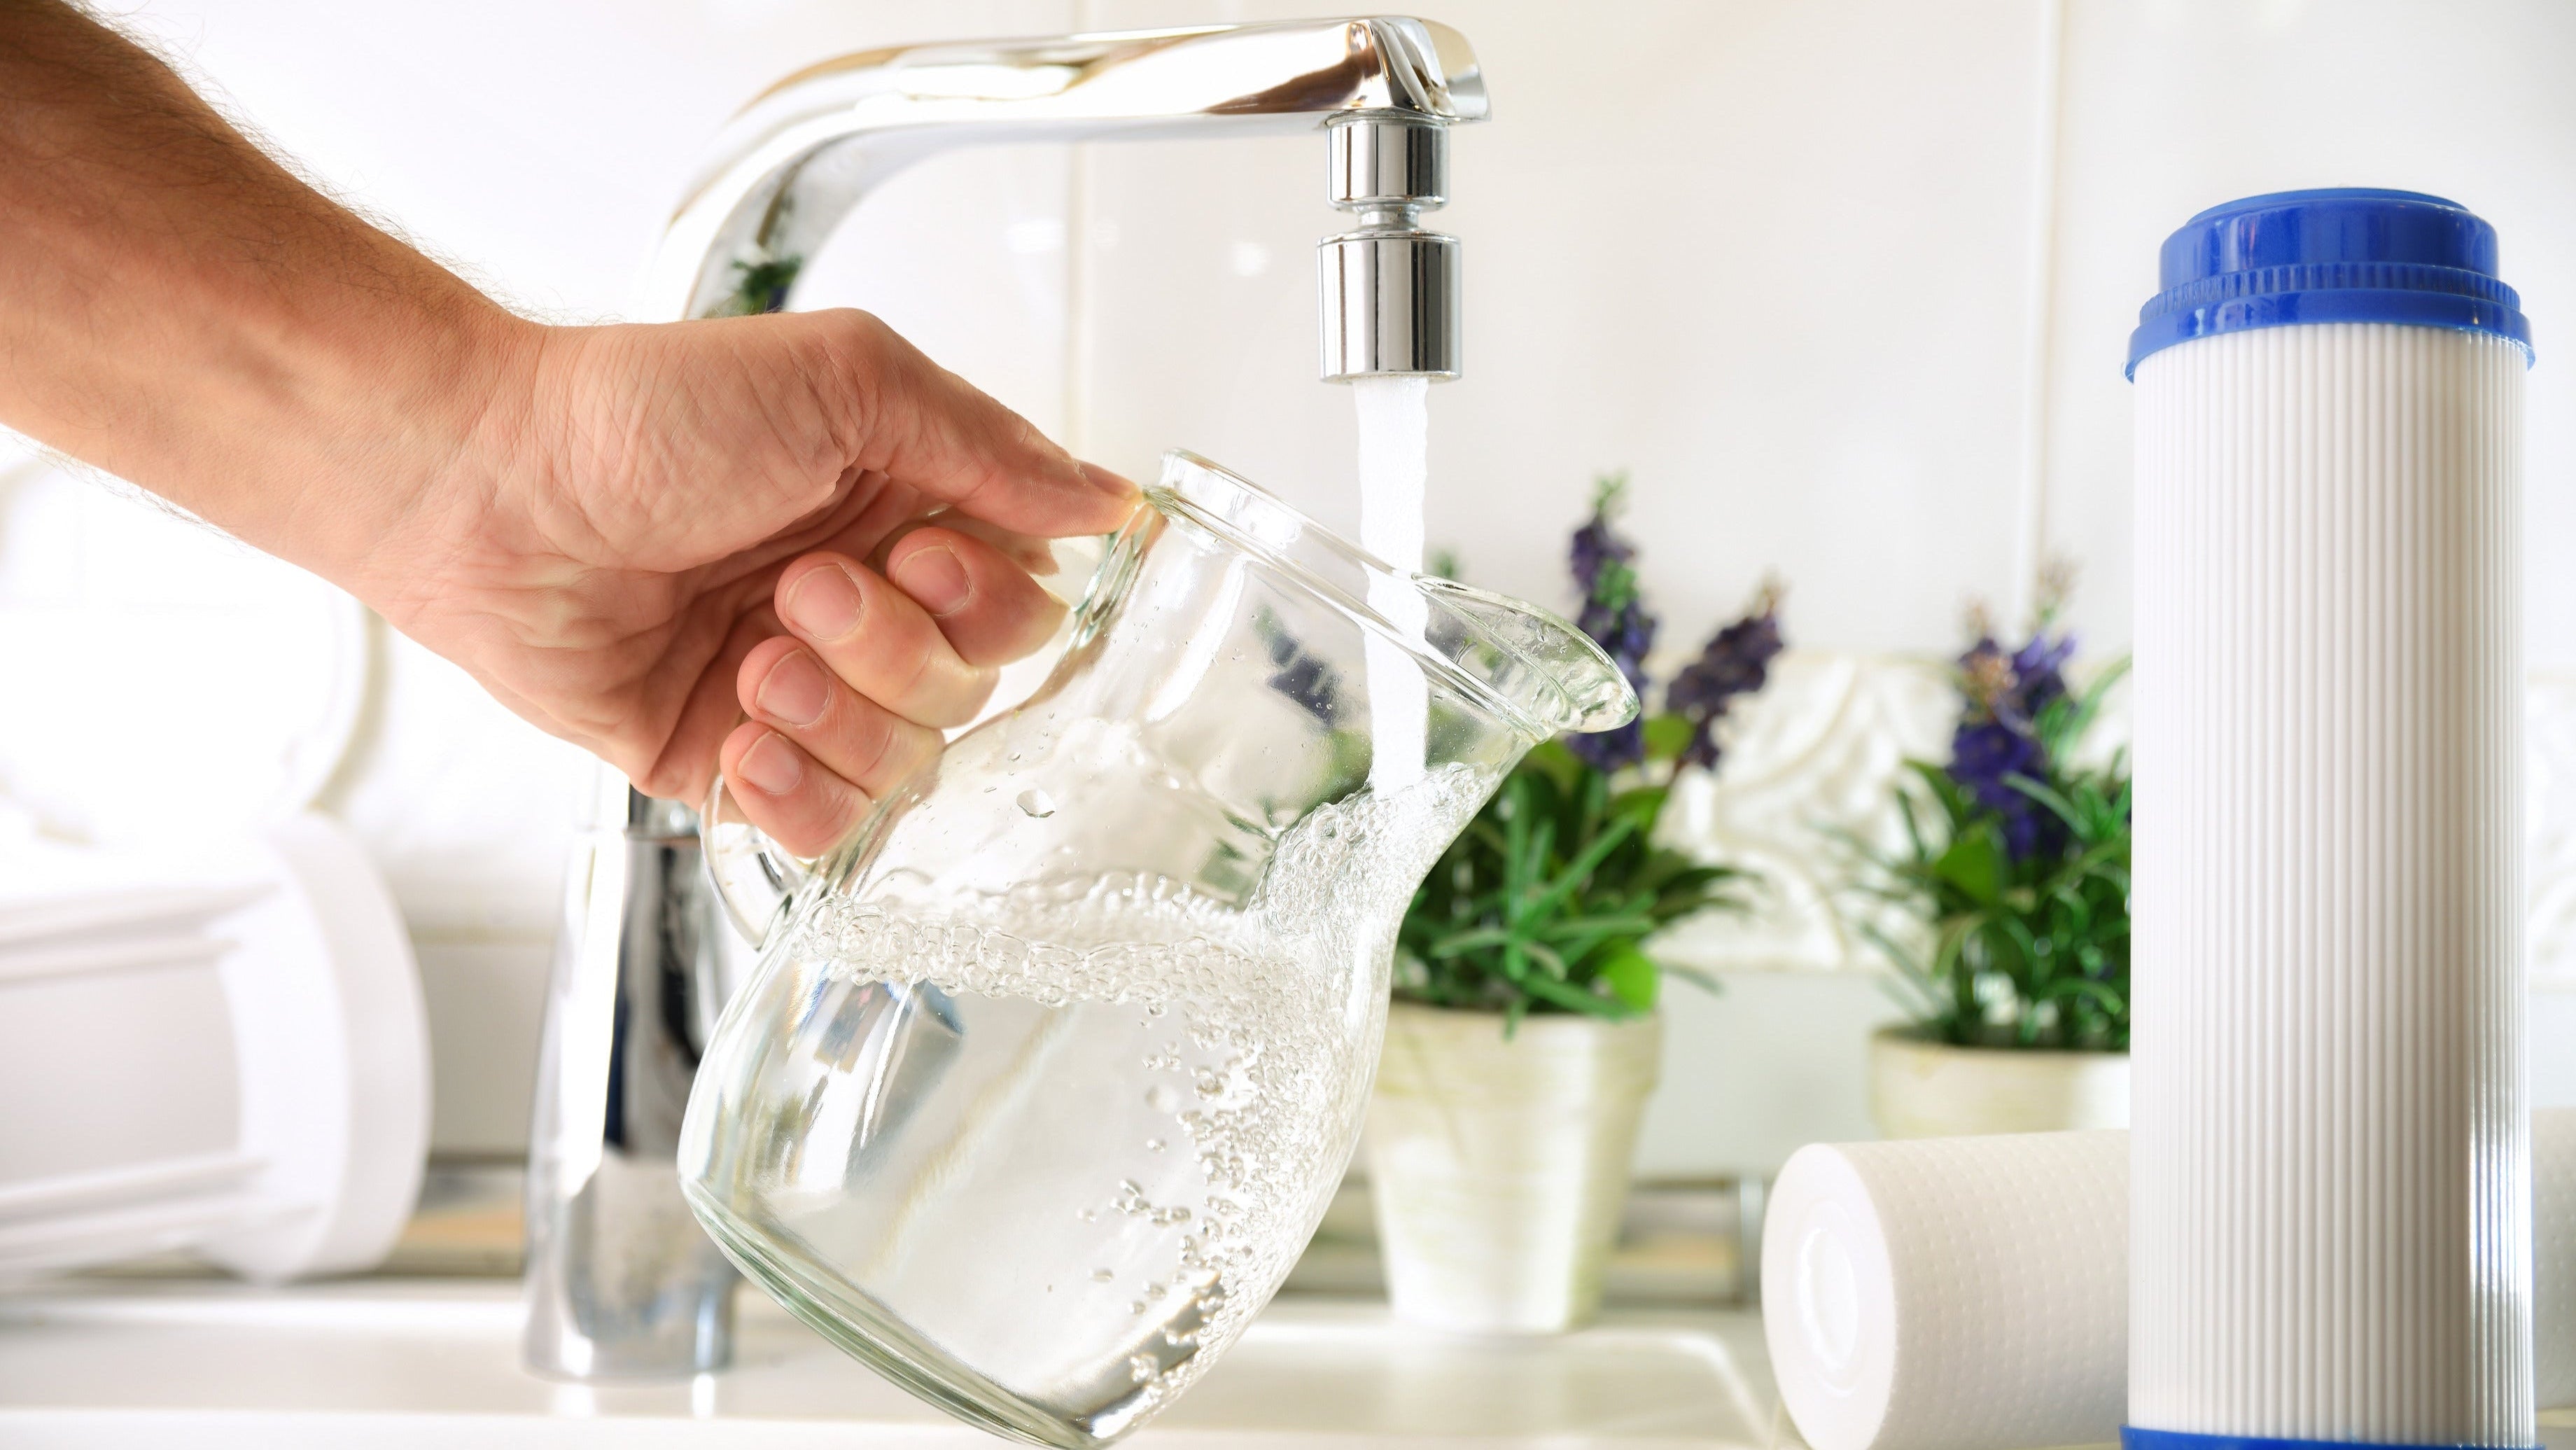
Some filters (especially carbon or underbench filters) require flushing with water to remove any loose particles or carbon dust before you use the water. Follow the manufacturer's instructions on how to properly flush the new filter. This usually involves running the water for a few minutes. The carbon particles are NOT harmful. However, they do make your water cloudy if the water is not flushed.
10. Reset the Filter Change Indicator (if applicable)
If your filtration system has a filter change indicator or a reminder light, make sure to reset it after replacing the filter. Check your system’s manual for instructions on how to reset the indicator.
If you're still unsure, get your filters serviced professionally by Rodney Water Filters. Or, get in touch if you have any questions.
Rodney Water Filters ships water filtration products all around New Zealand. We also offer water filter replacement services in Albany, Whangaparāoa, Orewa, Red Beach, Dairy Flat, Waitoki, Helensville, Wainui, and Kaukapakapa (around the Rodney region of Auckland).
Related Articles
10 inch water filters vs. 20 inch water filters
About carbon block water filters
Common questions about water filtration
Do I need a water filter if I'm on town supply?
When to change your water filters
Choosing a water filtration system for your home